How to Change a Kitchen Tap
If you're a homeowner, sooner or later you'll need to know how to change a kitchen tap. It's not a difficult job, but it can be tricky if you're not used to working with plumbing.
In this blog post, we'll walk you through the process step-by-step so that you can easily get the job done without any trouble. Sooner or later, every homeowner will need to know how to do this!
Things to Consider
Installing a new kitchen tap can be a game-changer for your sink, but there are several factors you should consider before diving in:
- Tap Size and Sink Compatibility: Ensure that the new tap is compatible with your sink's pre-drilled holes and size. The tap should fit comfortably without any overhang.
- Style and Finish: Choose a tap style and finish that complements your kitchen decor. Remember, the tap is not just functional but also an aesthetic element of your kitchen.
- Ease of Installation: Some taps are easier to install than others. If you're doing it yourself, consider a tap that comes with detailed installation instructions or even a DIY-friendly design.
- Water Pressure: Make sure the new tap is suitable for your home's water pressure system. Some taps require a certain level of pressure to function optimally.
- Your Budget: Taps come in a wide range of prices. Determine your budget beforehand and choose a tap that offers the best balance between cost and quality.
- Tap Features: Some taps come with additional features like pull-out sprayers, water filters, or touchless operation. Consider if these features align with your needs and preferences.
By taking these factors into account, you'll be better equipped to choose the perfect tap for your kitchen.
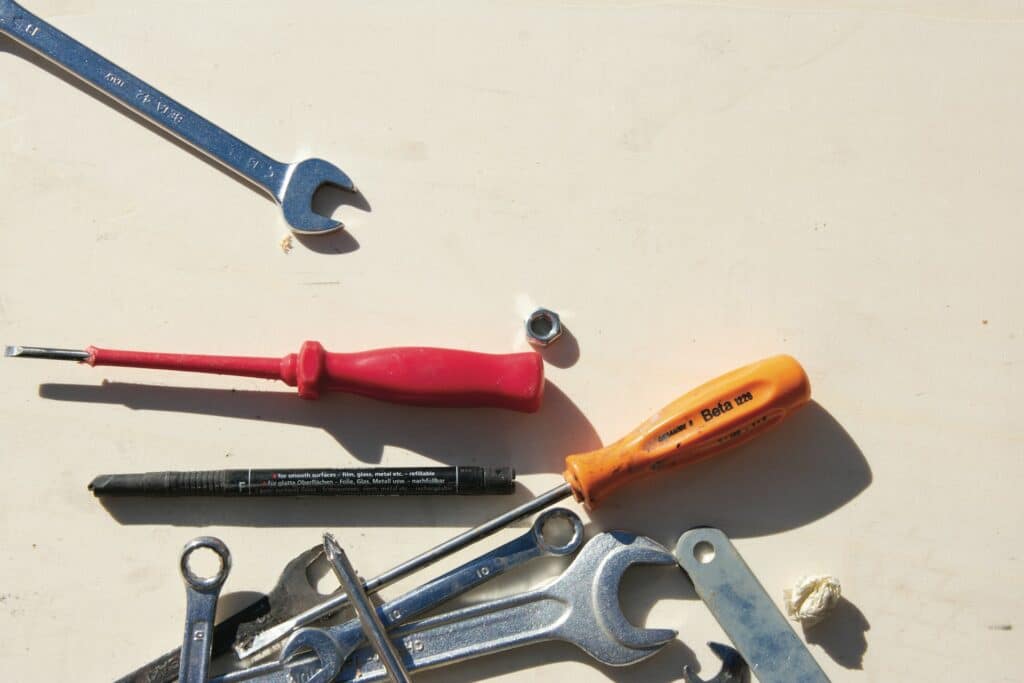
Tools You'll Need:
Absolutely, here's an expanded list of tools that can come in handy when changing a kitchen tap:
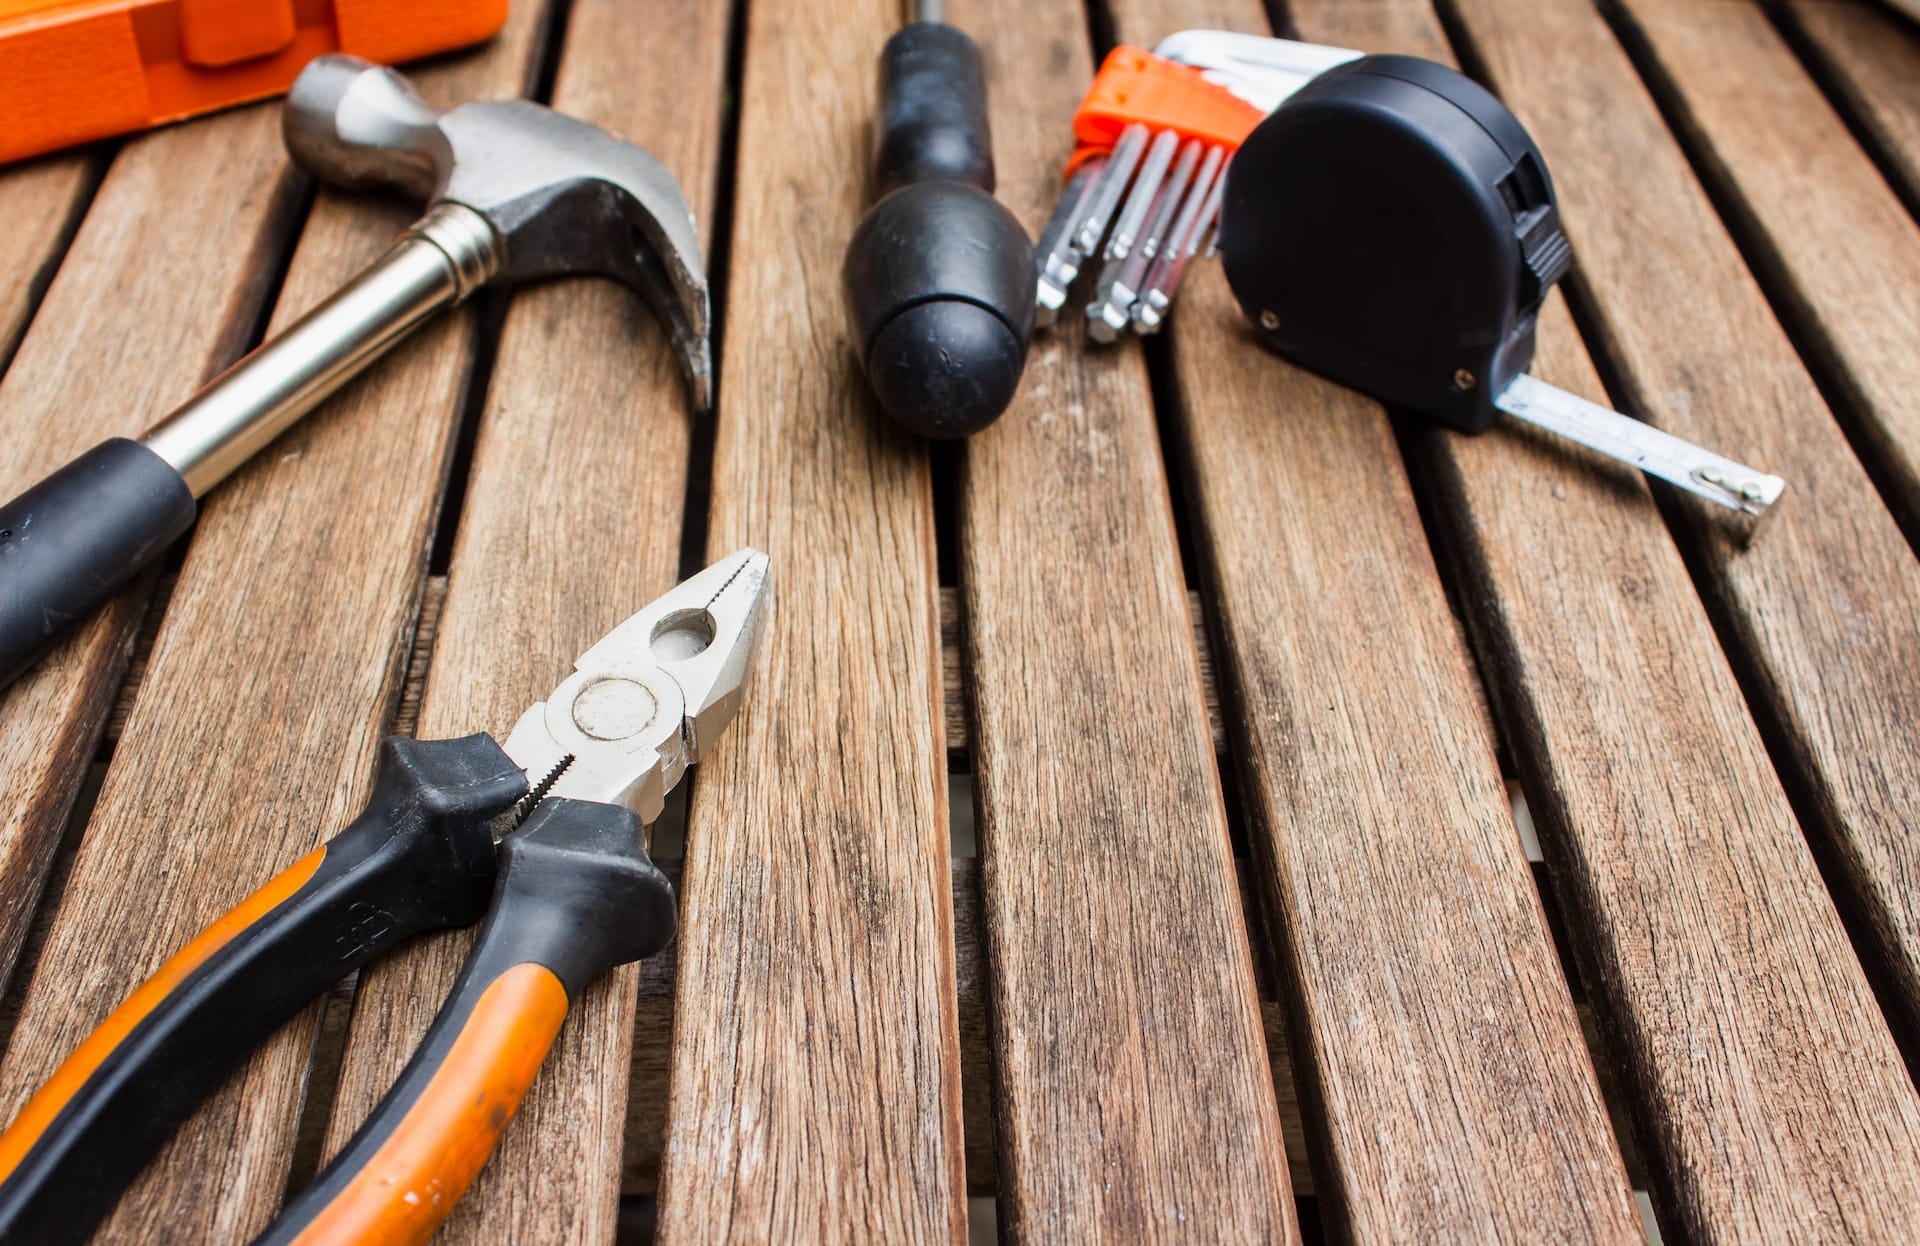
- Adjustable Wrenches: A must-have for gripping and turning the diverse nuts and bolts that secure your tap.
- Quality Plier Set: These are crucial for accessing hard-to-reach parts of the tap.
- Pipe Cutter: Handy for slicing through the soft copper tubing often found with older taps.
- Adjustable Tap Wrench: Another beneficial tool for dealing with older taps.
- Heavy-Duty Basin Wrench: If a complete tap removal is necessary, this tool is your best friend. It ensures safe and easy extraction.
- Plumber's Tape: Also known as Teflon tape, this will help you secure connections and prevent leaks.
- Bucket & Towels: Useful to catch any water that might spill during the process and clean up afterwards.
- Flashlight: To help you see clearly under the sink or behind the basin where light may not reach well.
- Safety Goggles: Protect your eyes from any debris or water splashes while working.
- Screwdriver Set: Some tap assemblies may require a screwdriver for disassembly or assembly.
Remember, having the right tools at hand can make the task of changing a kitchen tap much easier and more efficient.
Step 1: Removing the Old Tap
The task of removing an old kitchen tap might seem daunting, particularly if you're embarking on this DIY journey. But don't worry, here's a step-by-step guide to help you navigate through the process:
- Be Mindful of Corrosion: Older taps can have corroded fittings, which necessitate extra caution during the removal process.
- Shut Off the Water Supply: This is the first and most crucial step. It ensures you can safely disconnect hoses or pipes without the fear of leaks.
- Disconnect Hoses and Pipes: Once the water supply is off, carefully remove any connected hoses or pipes.
- Loosen the Faucet: Use your adjustable wrench to disconnect the faucet from its mounting bracket.
- Remove the Faucet: With the aid of a pipe wrench, gently loosen and extract the faucet itself.
By carefully following these steps, you'll be able to successfully remove your old kitchen tap, paving the way for a sleek, modern replacement.
Step 2: Installing the New Tap
The installation of a new kitchen tap can be an exciting upgrade. Here's a step-by-step guide to ensure a smooth process:
- Measure Twice, Buy Once: Use a tape measure to accurately gauge the dimensions of the sink holes and their distance apart. This will help you pick a tap that fits your sink seamlessly.
- Safety First: Always turn off the water supply before you begin the installation to prevent any mishaps.
- Remove the Old Tap: If the old tap is still in place, use a basin wrench to remove it.
- Prep the New Tap: Apply a layer of plumber's putty around the base of your new tap. This will help create a water-tight seal.
- Insert the New Tap: Position the new tap into the sink holes and hand-tighten the mounting nuts to secure it in place.
- Secure the Tap: Use a wrench to give the mounting nuts a final tighten. Be mindful not to overtighten, as this could damage the tap or sink.
- Reconnect Everything: Reattach any hoses or pipes and turn the water supply back on.
- Test Run: Check your new tap for any leaks. If all's well, enjoy your new kitchen feature!
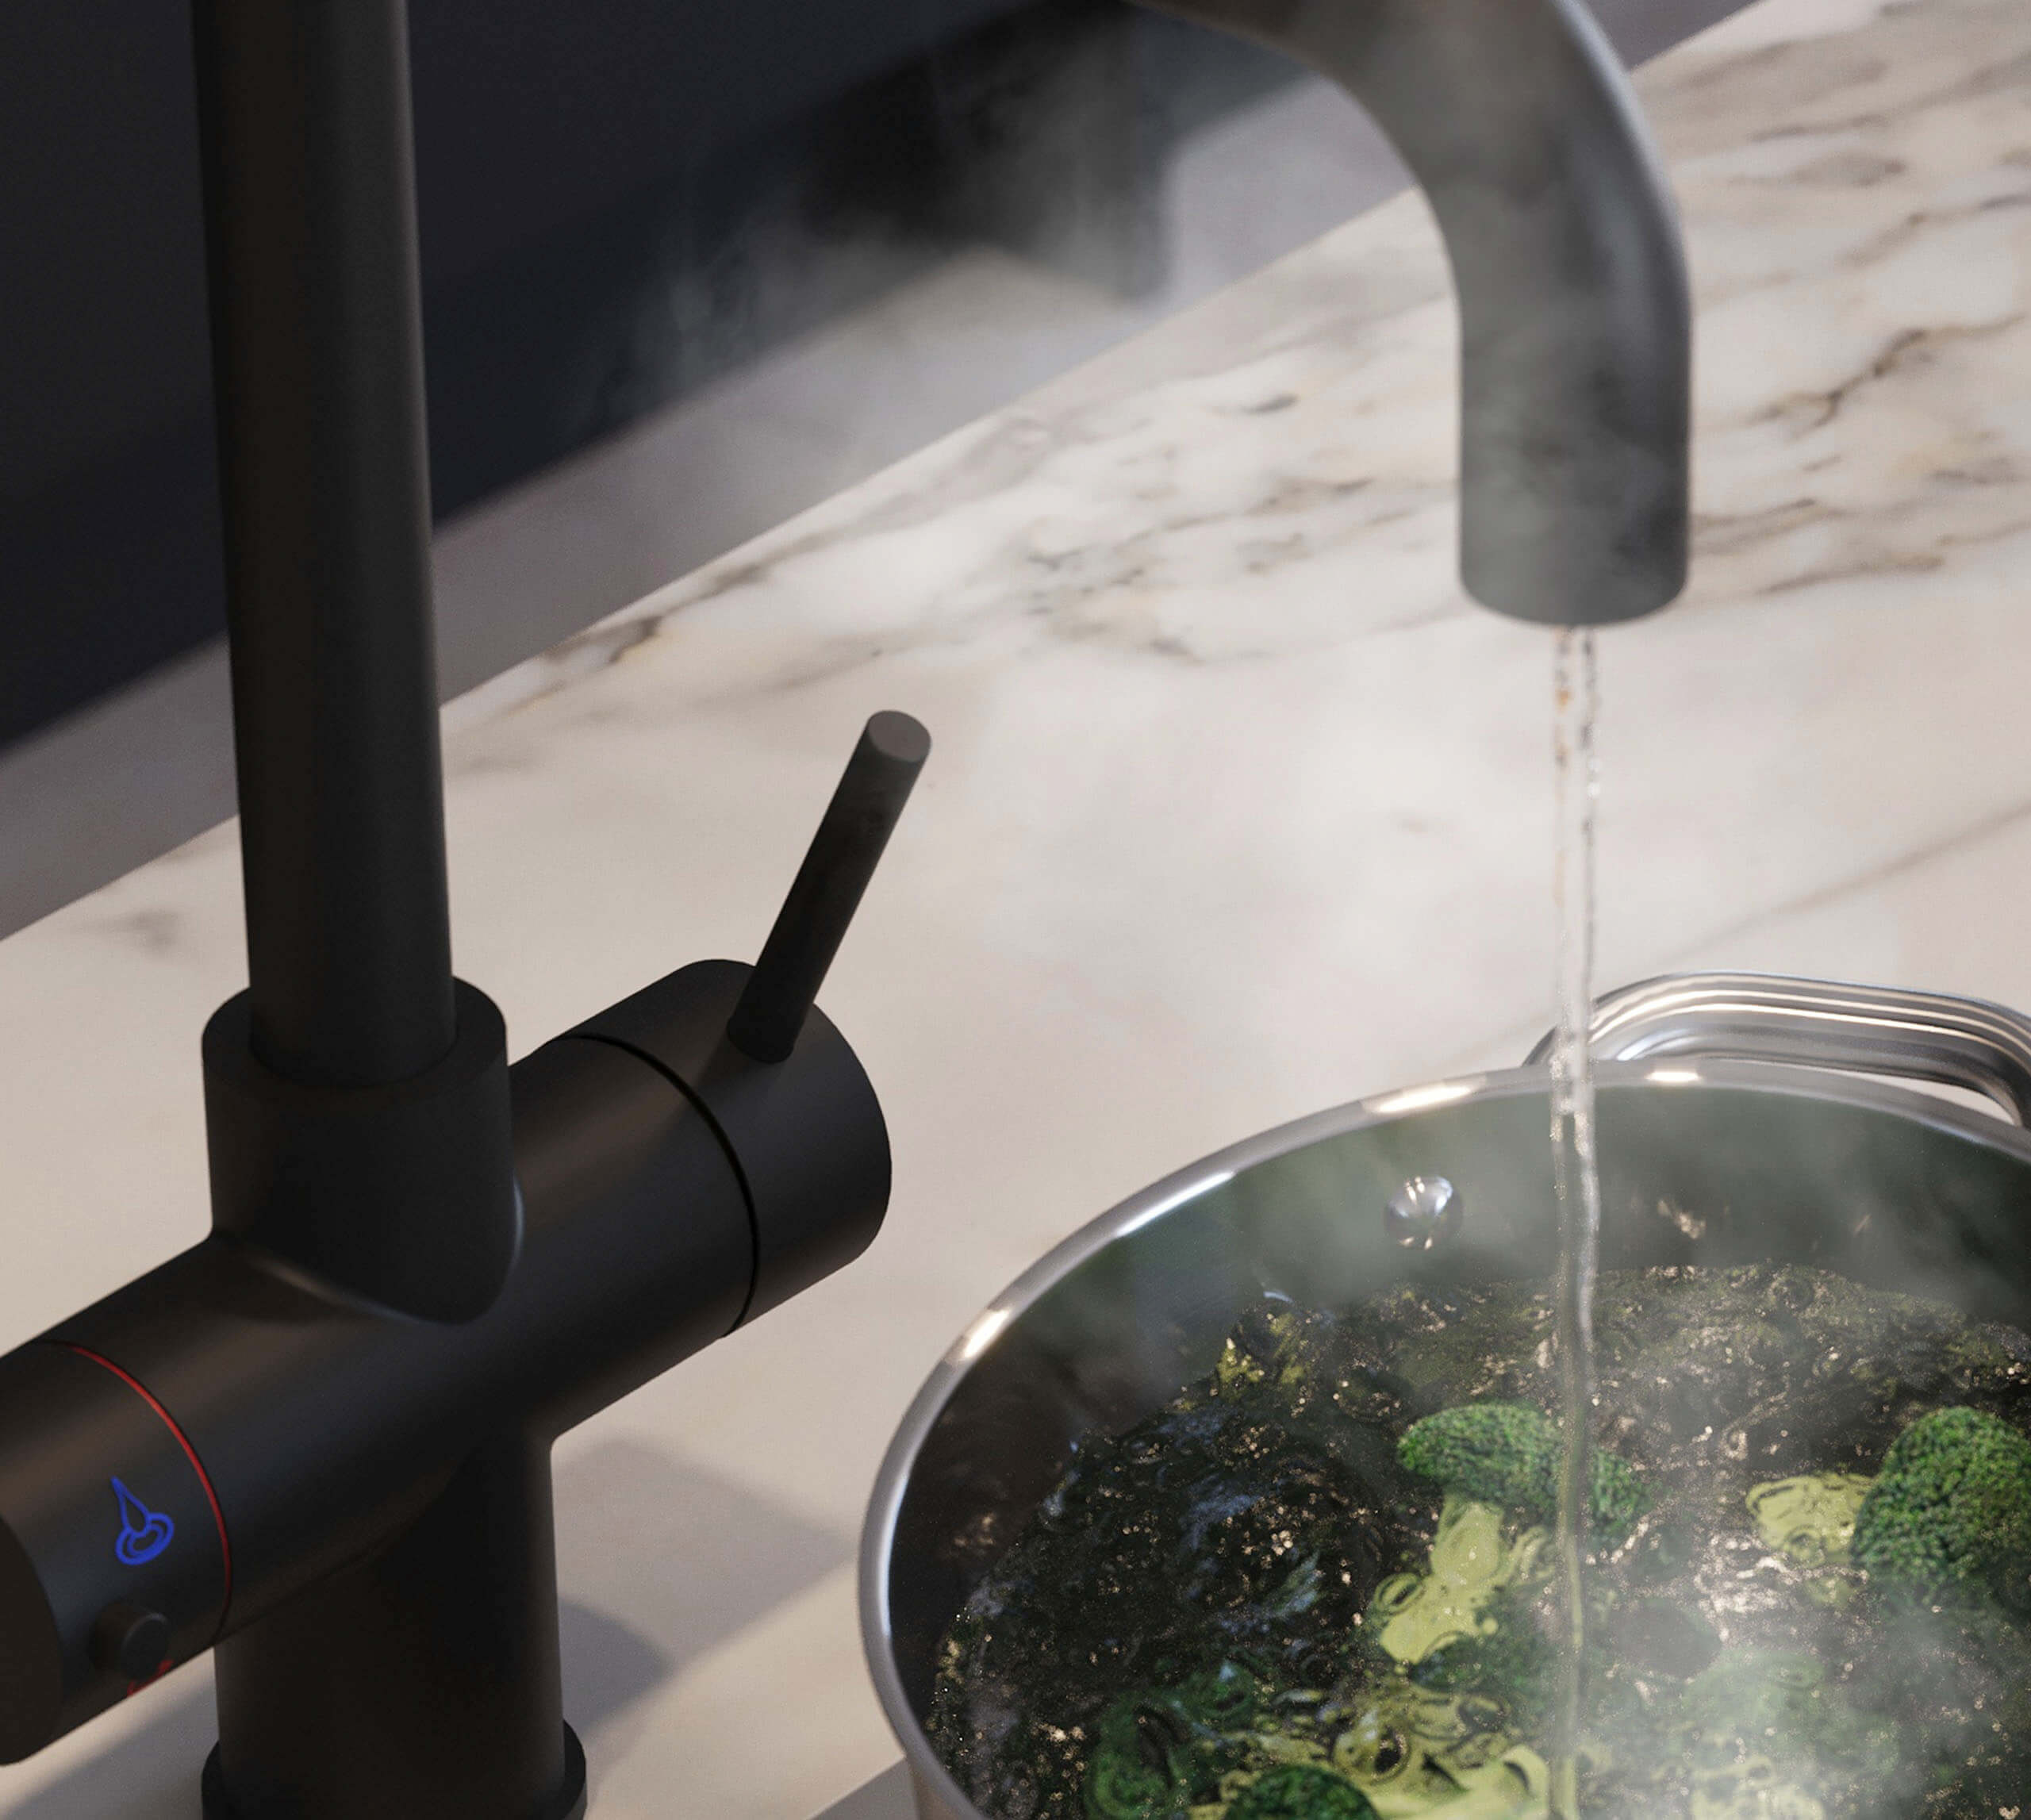
Remember, careful installation will ensure your new tap functions well and looks great in your kitchen! You can see how to install a boiling water tap here.
Troubleshooting
Even with the most careful installation, kitchen taps can sometimes run into problems. Here are some common issues and their solutions:
- Leaky Tap: If your tap is dripping, it may be due to a worn-out washer. You'll need to remove the tap handle and replace the faulty washer.
- Low Water Pressure: If the water pressure from your tap is lower than usual, it could be due to a blocked aerator. Unscrew the aerator from the end of the tap, clean out any debris, and screw it back on.
- Loose Tap: If your tap wobbles, it's likely the mounting nuts under the sink are loose. Tighten them with a wrench.
- Squeaky Tap: A squeaky tap often means the spindle or other components need lubrication. Remove the tap handle and apply plumber's grease.
- Stiff Tap Handle: If the tap handle is hard to turn, it could be due to sediment buildup. Remove the handle and clean the stem.
- Hot or Cold Water Not Flowing: If either hot or cold water isn't flowing, check the shut-off valves under the sink to ensure they're fully open.
Remember, always turn off the water supply before attempting any repairs. If you're not comfortable doing these fixes yourself, don't hesitate to call a professional plumber. You can also find some answers on our troubleshooting FAQs page.
Maintaining Your New Tap
- Routine Care: Regularly clean your tap using mild dish soap and warm water, check for leaks, and handle the tap gently to prevent wear and tear.
- Aerator Maintenance: Keep the aerator clean by routinely unscrewing it and removing any debris to maintain optimal water flow.
- Address Issues Promptly: If you notice a decrease in water pressure, unusual noises, or constant dripping, address these issues promptly either by doing DIY fixes or hiring a professional. This proactive approach can prevent small problems from turning into bigger, more costly ones.
For more on maintaining a tap, check out our maintenance guide.
FAQs
How much does it cost to replace a kitchen tap?
A: The cost of replacing a kitchen tap can vary widely, depending on several factors. If you're opting for a DIY route and replacing a basic tap, it could cost as little as £50. However, if your tap requires professional installation, or if it needs to be relocated, the cost could rise significantly.
The type and features of the tap will also influence the cost. For instance, high-end taps with sophisticated sensors, boiling water functions or built-in filtration systems could cost upwards of £300.
How do I change a washer?
A: Changing a washer on a kitchen tap can often rectify issues like leaks or low water pressure. Here's a simple guide:
-
Find the Screws: Locate the screws that secure the tap handle to the base. You may need to remove decorative covers to see them.
-
Remove the Handle: Once the screws are out, lift or pull out the entire handle assembly.
-
Access the Tap: Unscrew any retaining clips or nuts holding together the pipes and hoses associated with the faulty washer.
-
Replace the Washer: Remove the old washer and insert the new one. Ensure the replacement washer is the correct size and shape for your tap model.
-
Reassemble the Tap: Put all components back together securely.
-
Test the Tap: Turn on the water to check if the issue has been resolved.
Remember, always shut off the water supply before starting any repair work. If you're uncomfortable doing these steps yourself, it's best to hire a professional plumber.
Conclusion
By following the steps in this article, you can change your kitchen tap quickly and easily without any drama. Be sure to read through all of the instructions before starting so that you know what to expect. And always remember to shut off the water supply before beginning any plumbing projects!
Transform the way you cook and clean with a boiling water tap, now available at unbeatable prices. Alternatively, find out more about boiling water taps in our buyer's guide.